First, tell a live text layer from a picture of text
Open the design you received, not just a downloaded PNG or JPG. Click directly on a word. A live text layer behaves like an object in the Canva editor: you can select the text itself and work with its text formatting. An exported image behaves as one visual object, even when it contains perfectly sharp letters.
This distinction matters more than the file extension. A PNG export itself is flattened, but the original Canva project it came from may still contain editable text layers. A Canva design can also contain a placed screenshot, scan, or old export whose words are already baked into pixels. Duplicate the design before making a production change so there is always an untouched source and a clear review path.
Use the live-layer route whenever it is available. It preserves the original typography decisions better than trying to reconstruct them from rendered pixels, and it lets you change line breaks deliberately instead of asking an image model to infer them.
If a teammate only sends an image in chat, ask whether a Canva design link or source file still exists before beginning. That short pause can prevent two common mistakes: recreating a layout that is already editable, and publishing an image with a new text box sitting on top of the old message. A source design is also the right place to change related elements such as accessibility copy, alternate language pages, or a reusable campaign template.
If the words are live Canva text, edit the source design
Duplicate the approved design and identify the exact variant
Start from the design that produced the asset, then duplicate the page or file. Confirm the channel, language, campaign date, and size before touching the copy. A social post, display ad, email banner, and product-image tile can look similar while carrying different approved wording.
Expected result: you have one working version whose purpose is clear, while the last approved design remains available for comparison.
Select the text box and replace only the approved wording
Click the wording on the canvas. If it selects as a text object, place the cursor in that text and enter the approved replacement. Keep the original message nearby while you work; changing a number, product name, date, legal qualifier, or offer condition from memory is an easy way to create a polished but inaccurate asset.
Expected result: the new words remain editable as Canva text. If clicking repeatedly only selects the whole image, do not add a covering text box yet—move to the Grab Text check below.
Re-check the layout instead of assuming a short text swap is neutral
Compare the new copy at the actual artboard size. Watch for a wrapped headline, changed hierarchy, a badge that no longer has enough breathing room, or a price line that now looks like a footnote. Shorter copy can leave an obvious gap; longer copy can collide with a logo or product image. Adjust the design intentionally, or ask the design owner to do so when the change affects the original composition.
Expected result: the replacement is readable and still looks like part of the approved design—not like text squeezed into a previously fixed space.
For a flat image, use Grab Text only when the recognition case is clean
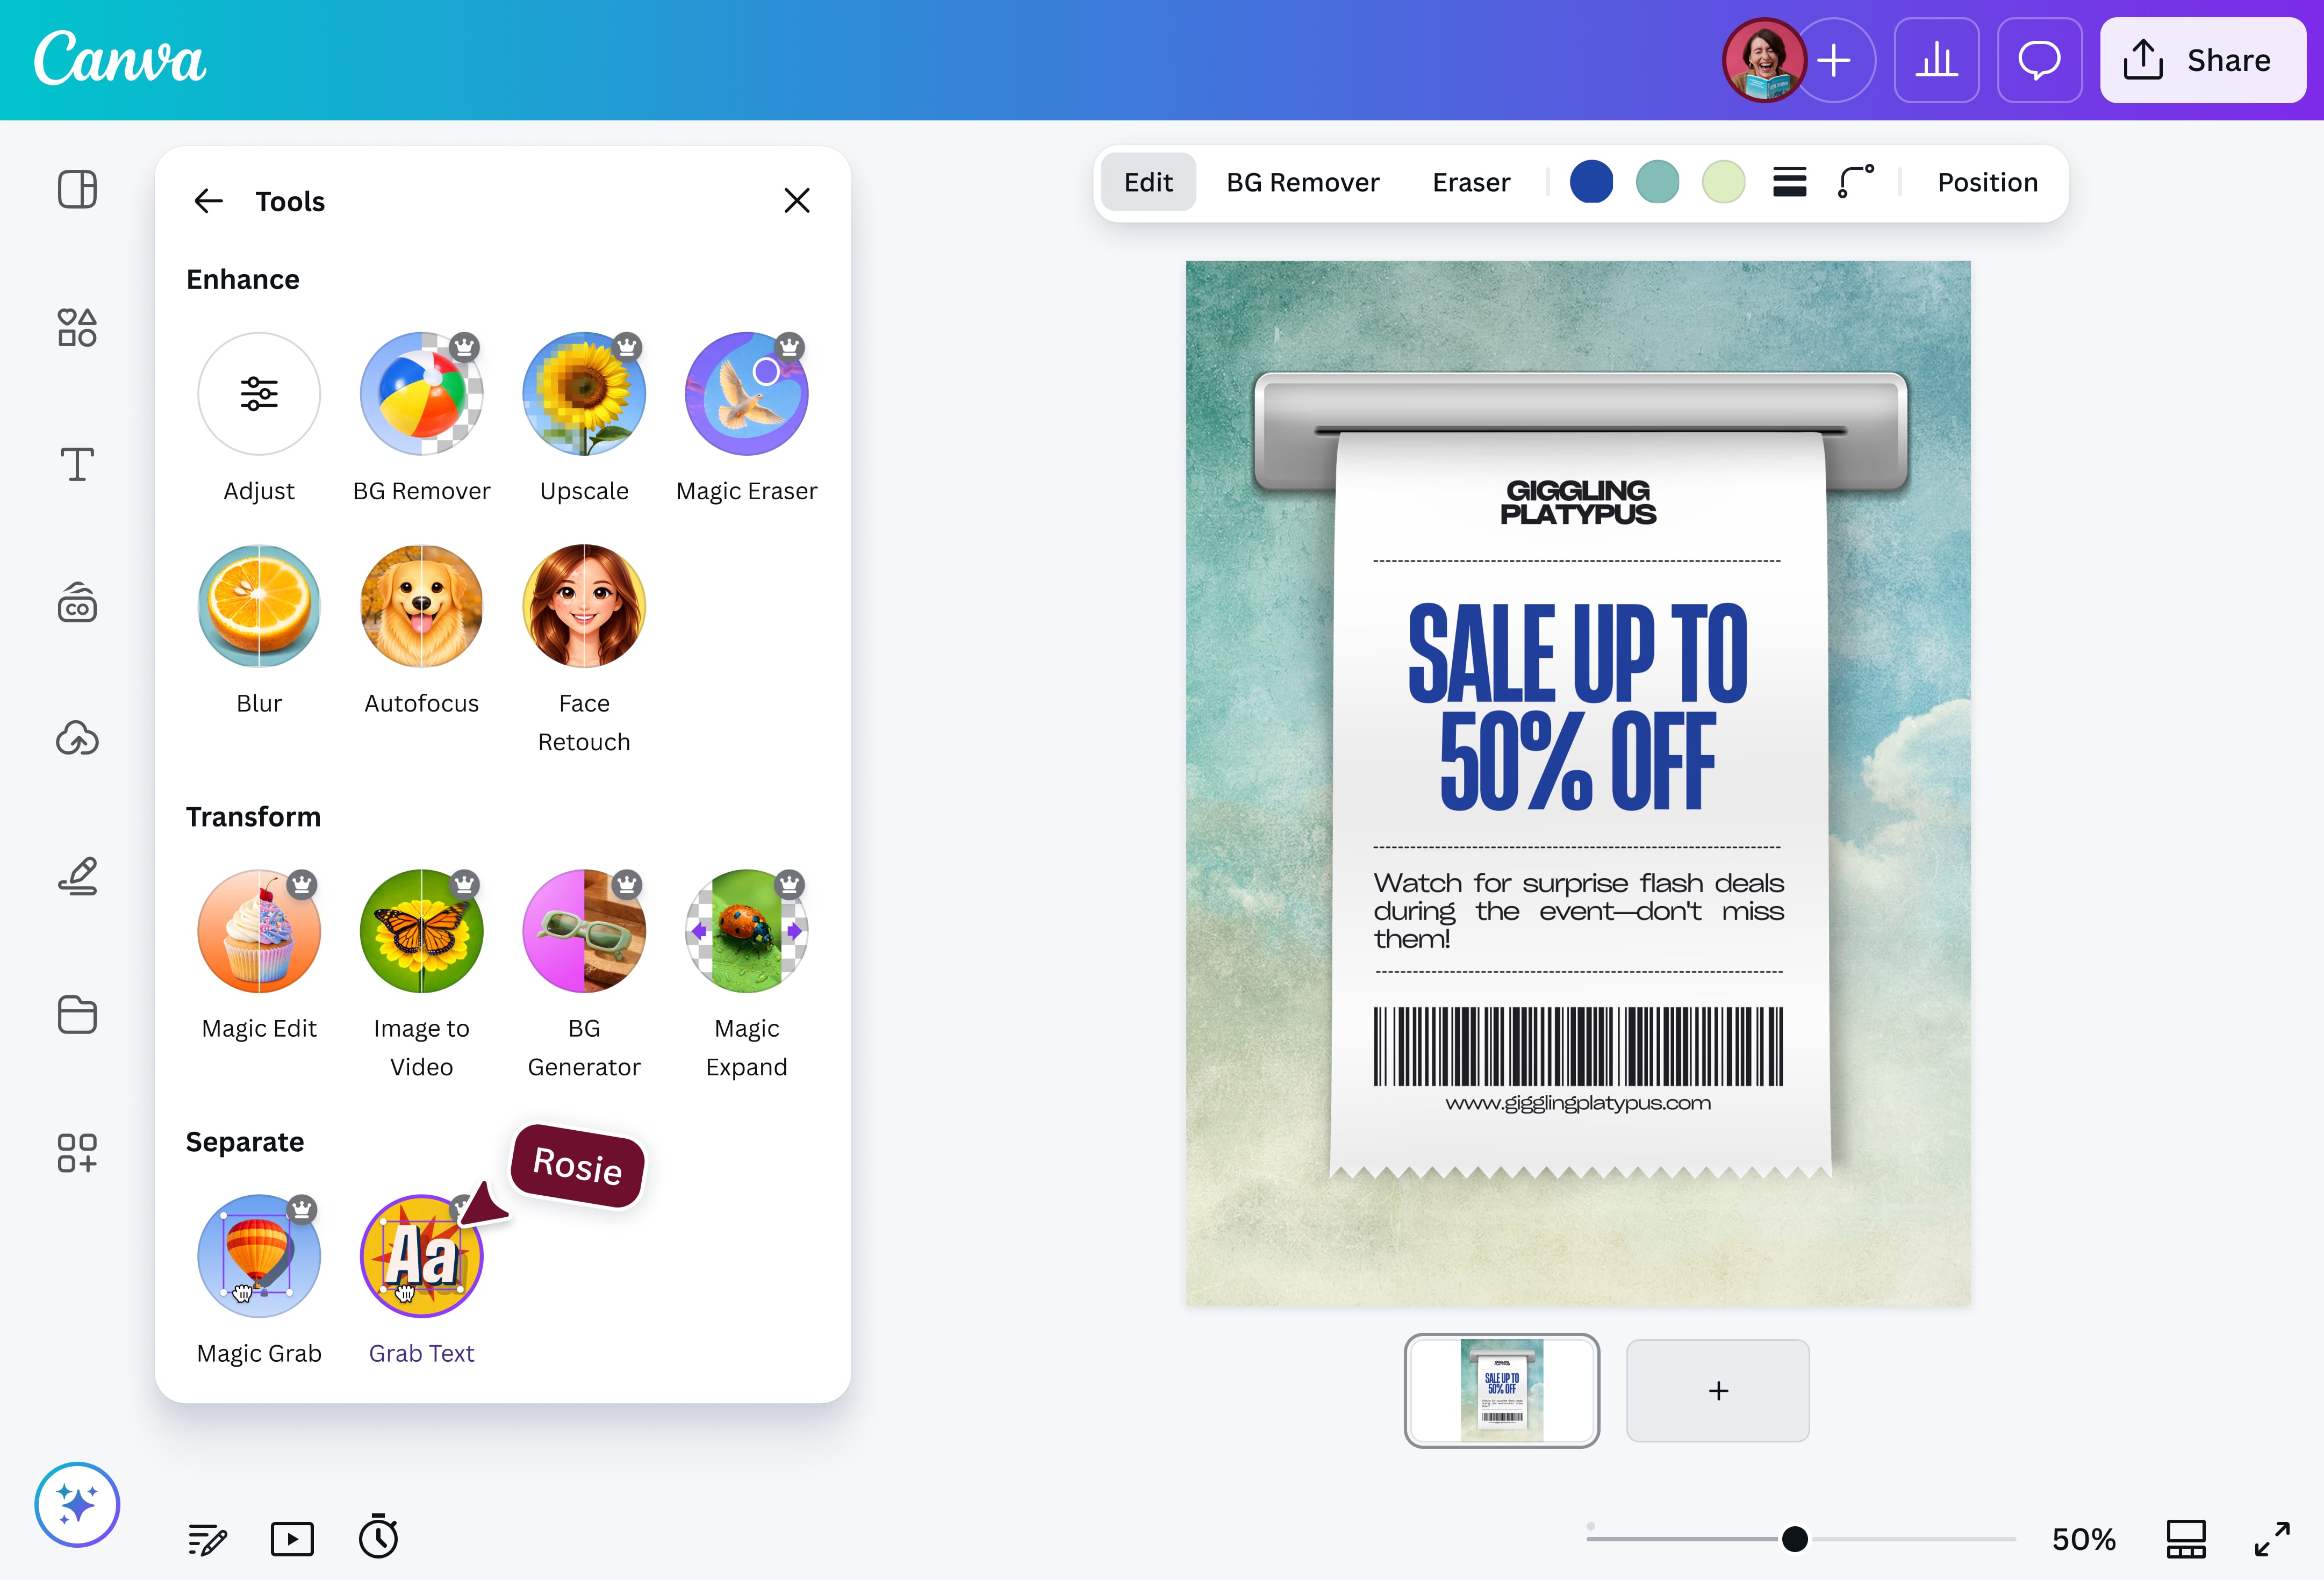
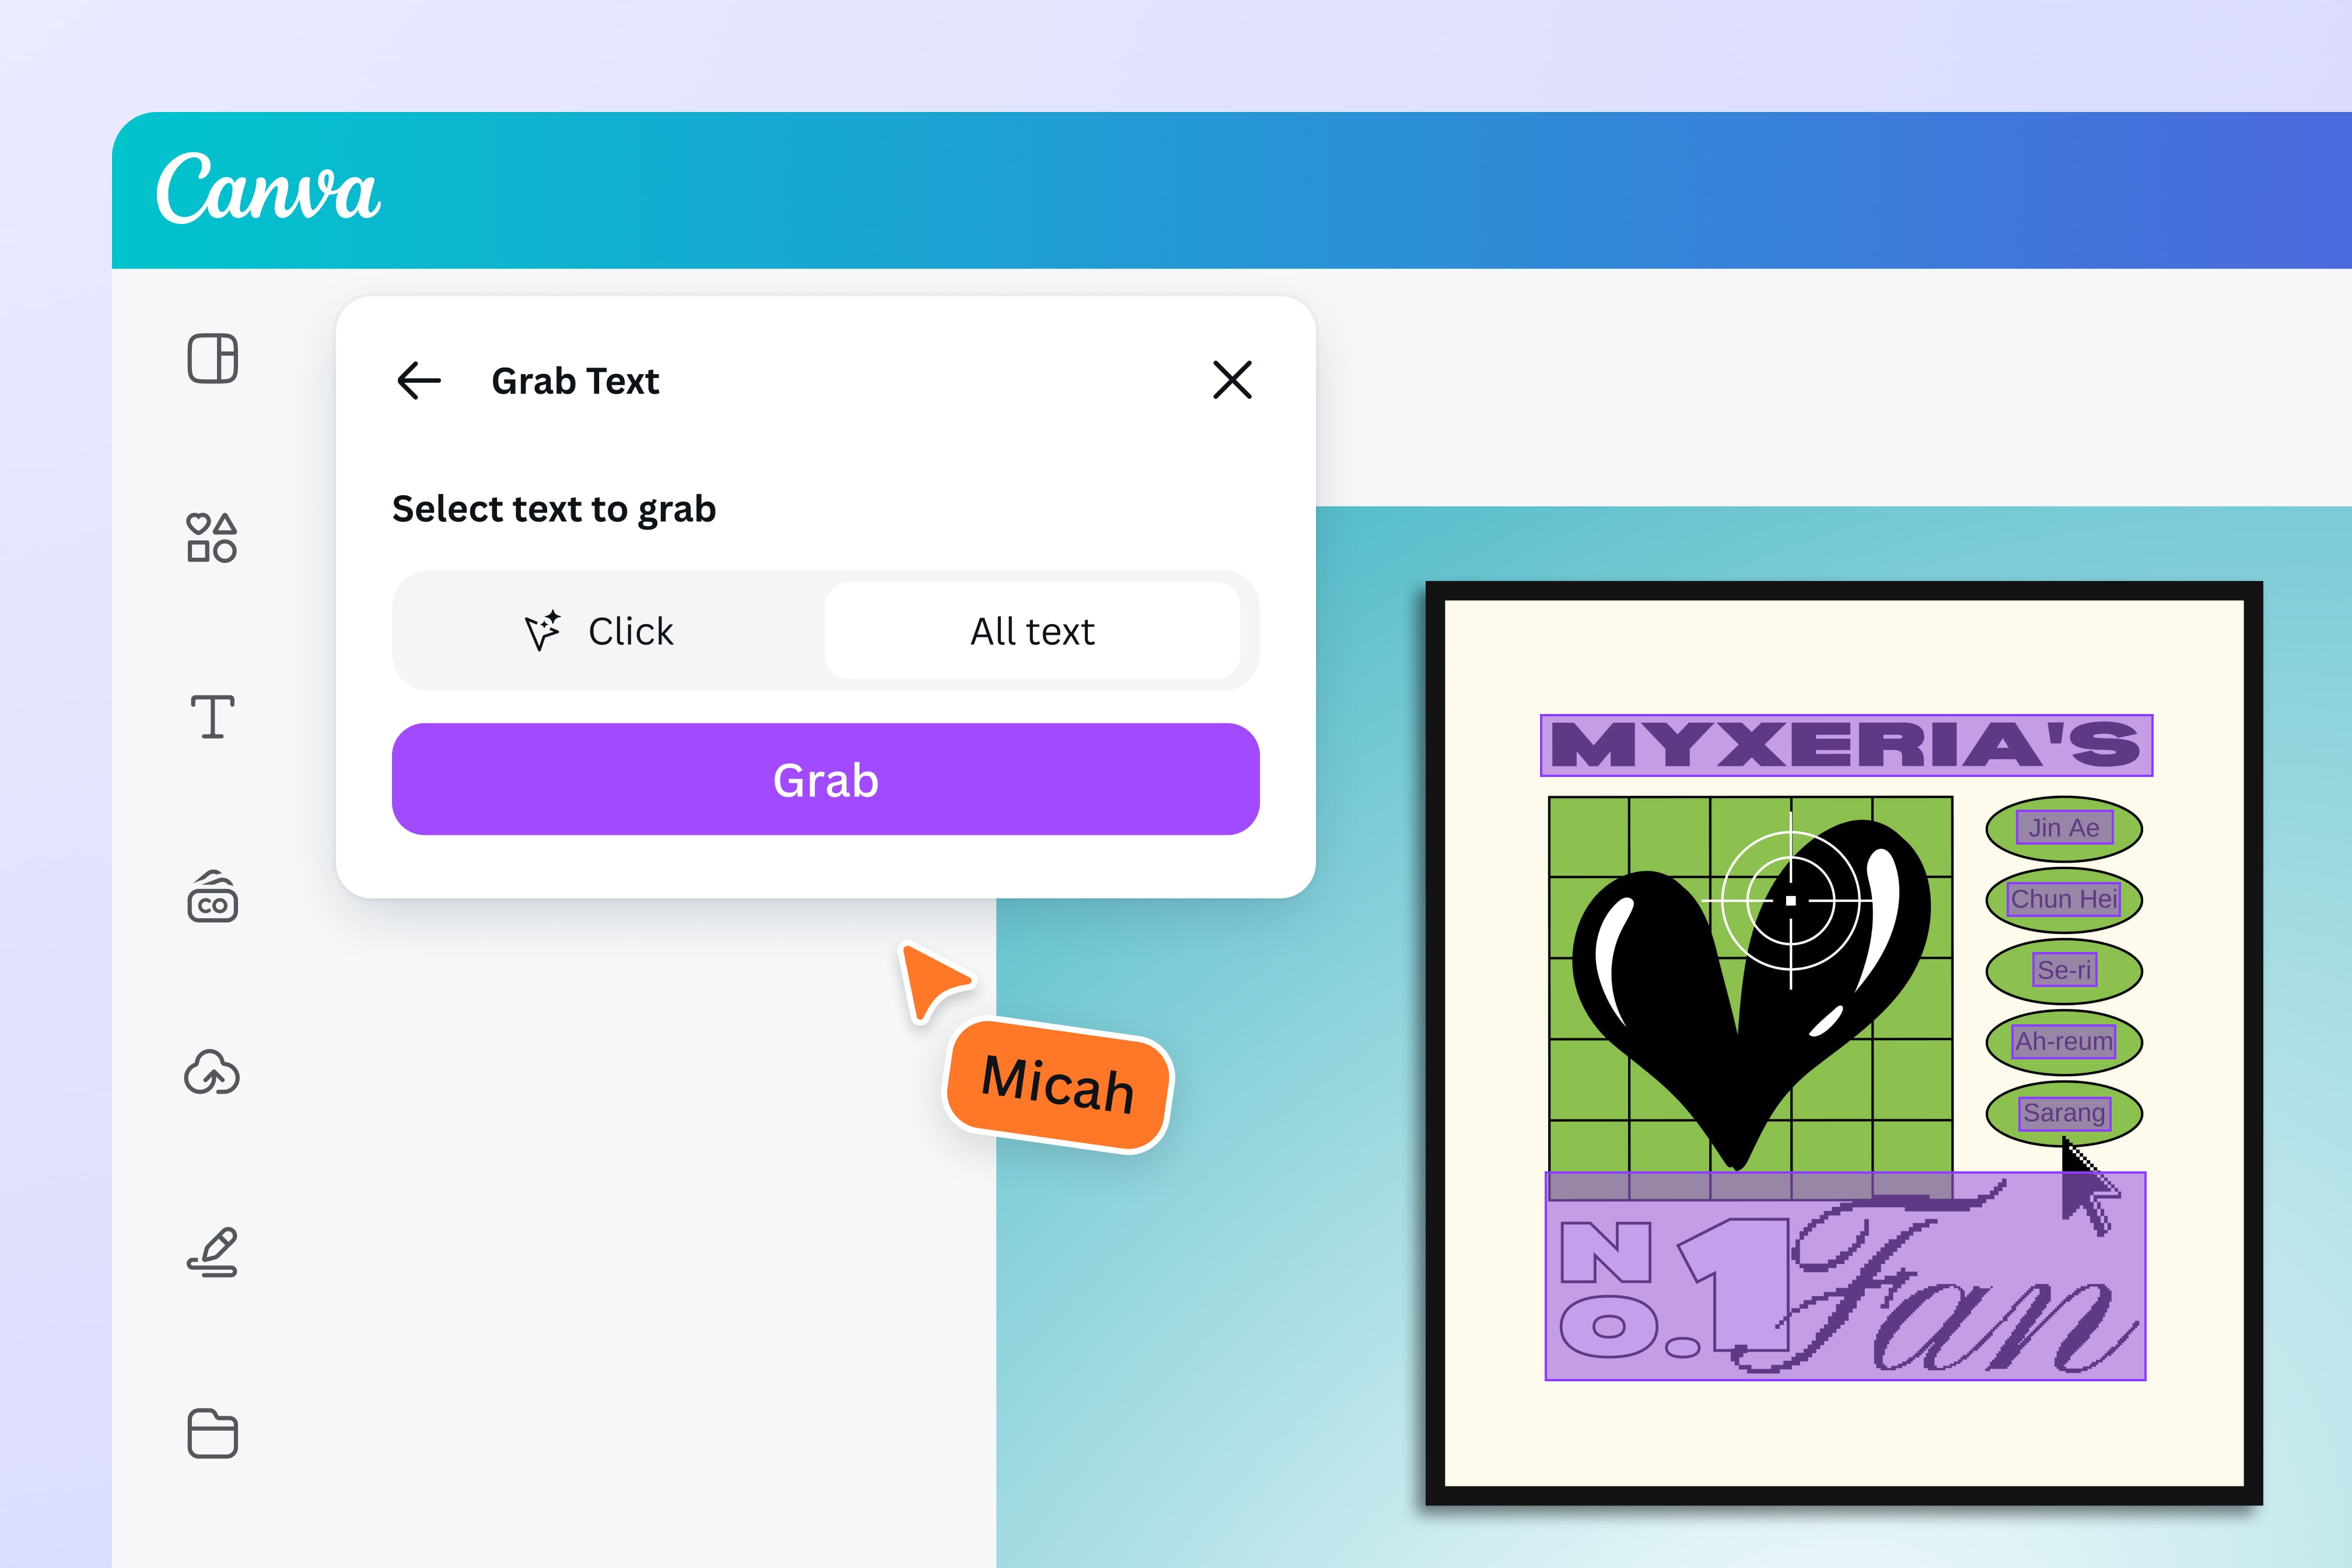
Canva’s current feature page describes Grab Text as a way to turn selected text in an image into an editable layer. Grab Text is currently a Canva Pro feature, so availability depends on your plan. Its official UI examples show the Grab Text tool, then a choice to select words by clicking or to work with “All text,” followed by a “Grab” action. Those controls are the decision point: select the smallest truthful scope first when only one label or line needs to change; use all text only when you have reviewed the whole image and genuinely need every recognized text element converted.
The current examples also show Grab Text in the editor’s Tools area. Interface placement can change by device, account, and release, so treat the screenshots as a dated visual reference rather than a promise that every account will expose the same layout. The source link and capture date appear below each image.
Place the exported image on a duplicate Canva page
Upload or place the image in a duplicate design. Zoom enough to see the words you need to change. If the text is blurry, severely angled, partly hidden, or intertwined with an illustration, note that now; those are signs the editable-layer result may not be the cleanest route.
Expected result: the image is isolated on a working page and you know exactly which visible words are eligible for change.
Open Grab Text and choose the smallest useful scope
Open Grab Text from Canva’s available editing tools. Choose Click when one specific element is the job, then select the words you intend to change. Choose All text only after checking that all of the image’s visible text belongs in the conversion. Run Grab and wait for Canva to create editable text from the recognized area.
Expected result: the extracted words behave as editable text above the image. Read every character before changing it; visual recognition can misread punctuation, symbols, small characters, or adjacent decoration.
Edit and inspect the new layer against the original image
Replace the approved words, then zoom out and zoom in. Check baseline, leading, line breaks, color, contrast, and whether any original letter fragments remain underneath. If the original font is not available, choose a close visible match rather than claiming an exact recovery. The goal is an accurate, legible asset—not a guess presented as a source-perfect reconstruction.
Expected result: the new type is readable at normal viewing size and does not leave remnants that make the old message visible.
When to stop trying to edit it inside Canva
Do not keep layering new text over a failed extraction. A cover-up can leave the former wording visible around edges, destroy shadows or texture, and create two contradictory messages in an image that will later be resized or compressed. Stop when the type is curved around an object, strongly perspective-skewed, merged with detailed texture, too small to inspect, or when Grab Text has left incomplete fragments.
The better next move depends on the asset. If the original designer can reopen the source, ask for a source edit. If the image is an authorized, finished export and the approved change is short, use a pixel-level replacement workflow and review the result with the original beside it. If a large headline, many connected labels, or a full layout is changing, rebuild the design rather than hiding a production-layout job inside an image edit.
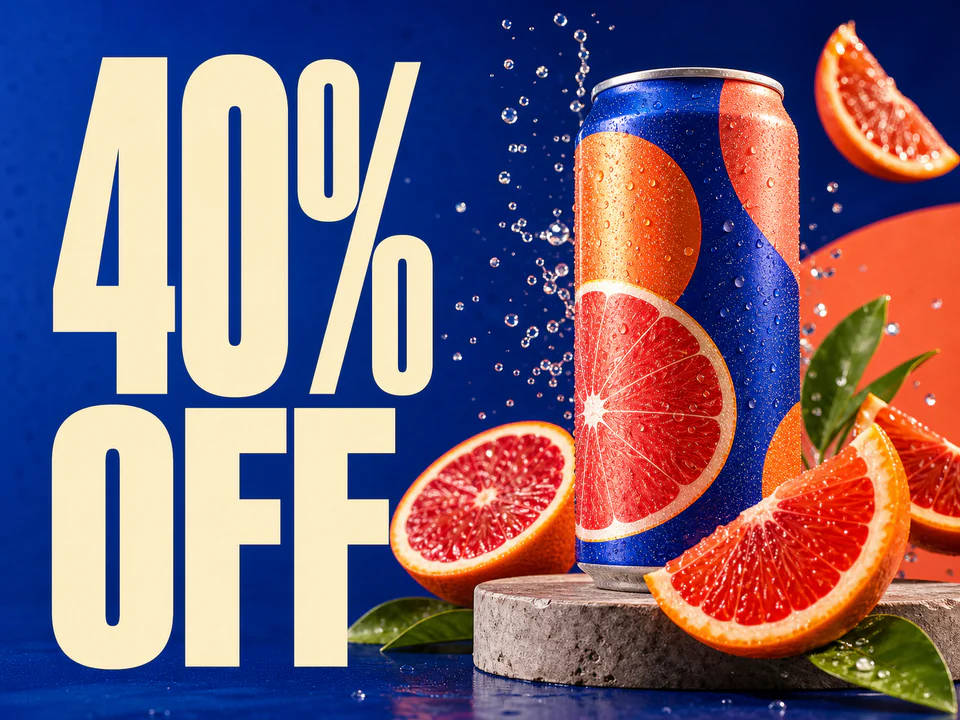

Original ChangeTextImage demonstration asset. This is a flattened-image recovery example, not a Canva result.
Export and review the right version
Before download, compare the new design against the approved source at the sizes people will actually see. Check the visual message, not only spelling: price, percentage, dates, terms, units, product variant, links, logo clearance, accessibility contrast, and any required disclosure must still be correct. Download in the format and dimensions required by the destination, then open the exported file rather than judging only the canvas preview.
For a campaign update, retire or clearly archive the old asset so teammates do not accidentally upload it later. If this is a price or offer change, continue with the product-image workflow below; that page owns the checks across the store, campaign, and landing page rather than teaching Canva controls a second time.
Name the finished file so the version can be recognized outside Canva—for example, include the campaign, channel, language, and approval date rather than relying on “final-final.” If a different person will upload it, provide the exact destination and the old asset it replaces. Export review is where a clean text edit becomes a dependable published asset instead of an isolated design change, and it is the last safe moment to catch an outdated file before it travels into a scheduler or partner folder.