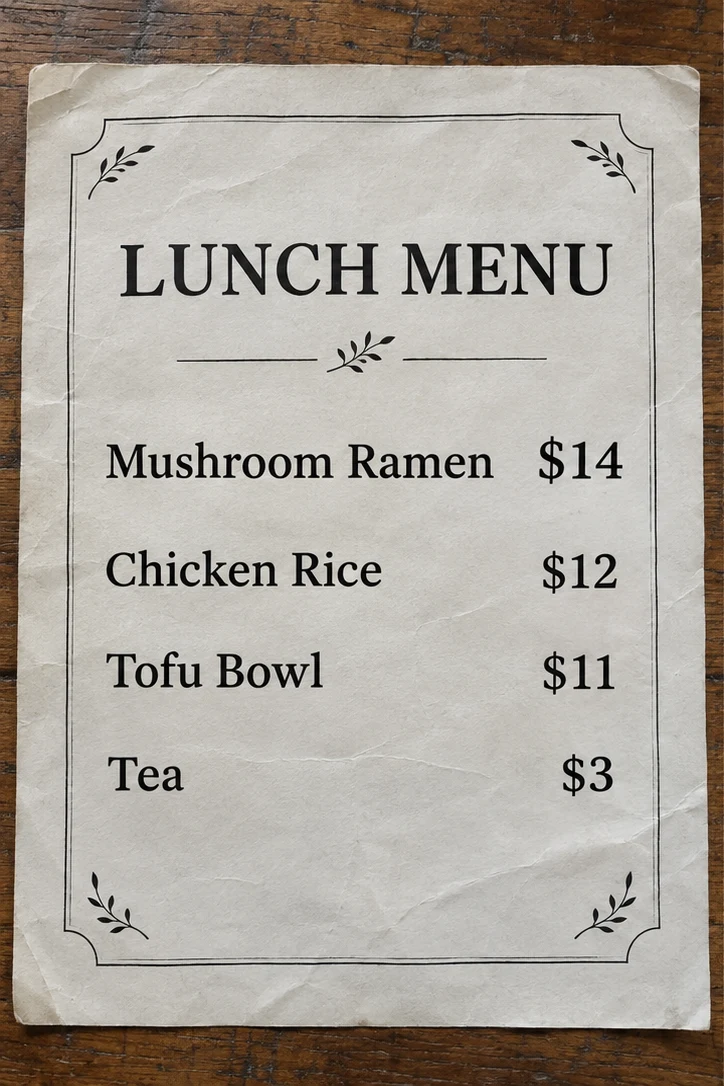
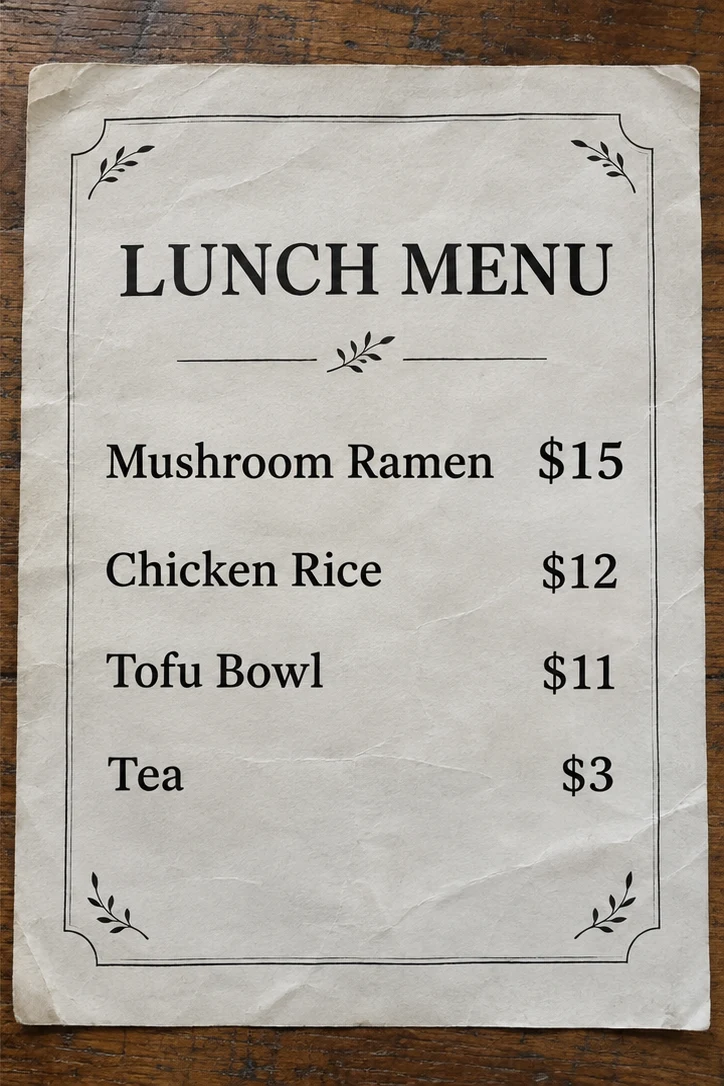
Edit text in menu images to update a price, rename a dish, or refresh a special. Upload your existing menu, enter the replacement, and compare the result before sharing it with customers.
ChangeTextImage replaces existing words in a saved menu image or a clear photo of your menu. Start with one price, item name, or heading, then review the result against the original. You do not need the original design file for a small text update.
Compare a menu price, a chalkboard special, and a dietary tag. These illustrative examples show the intended text changes, not results produced by this editor. Load an original to try your own edit.
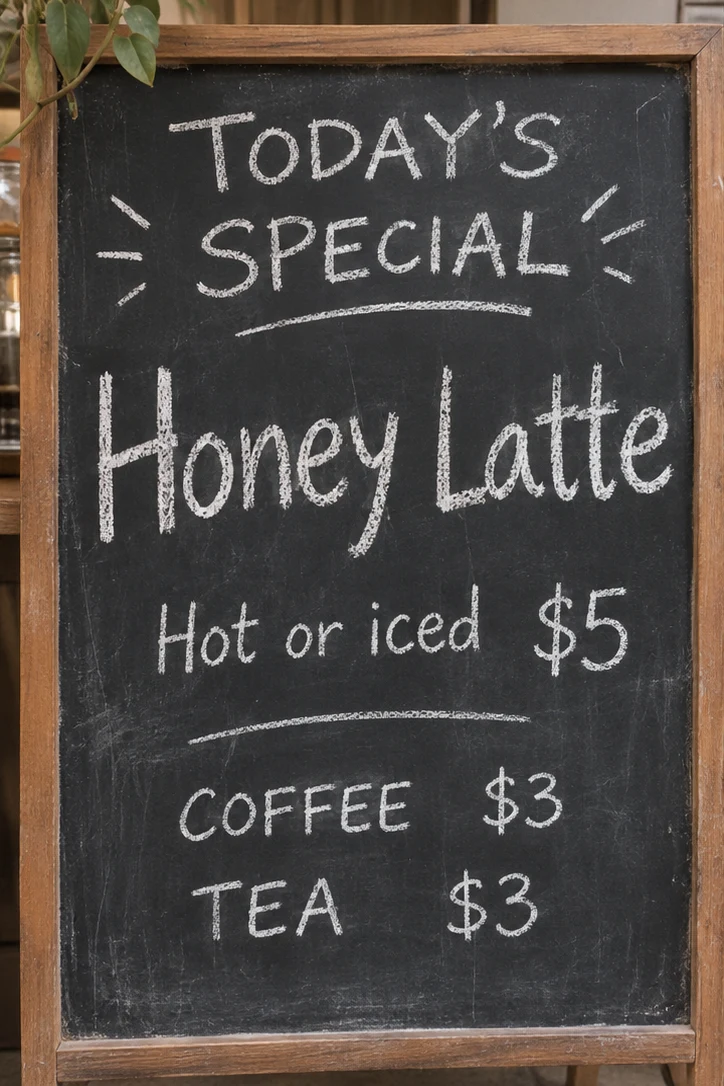
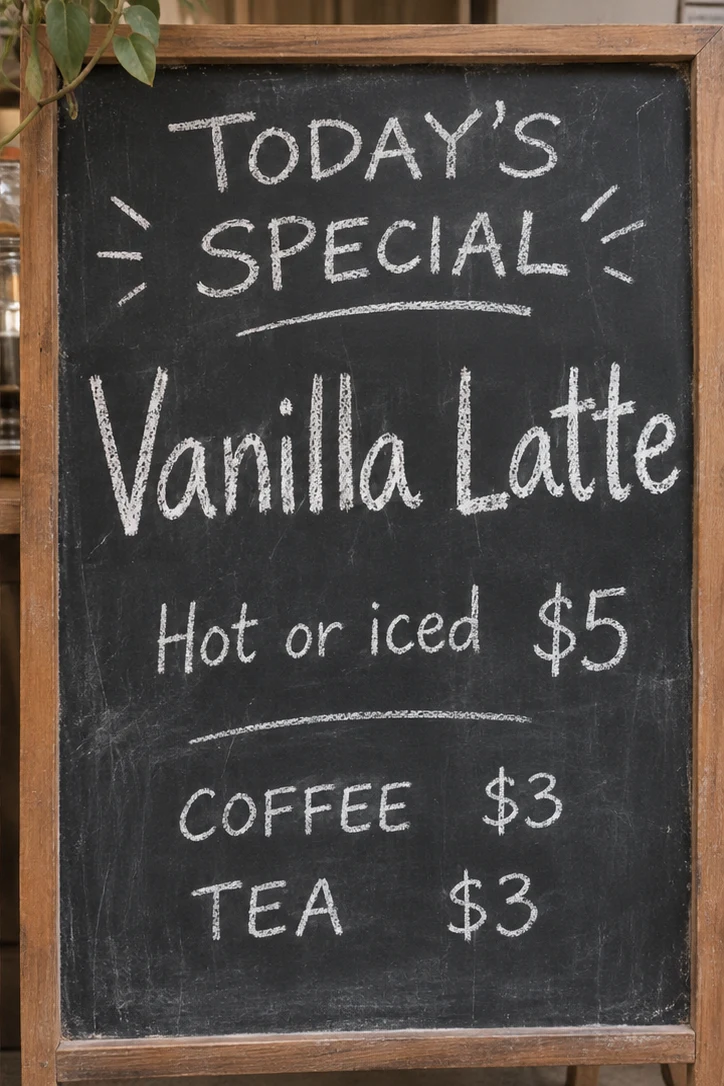
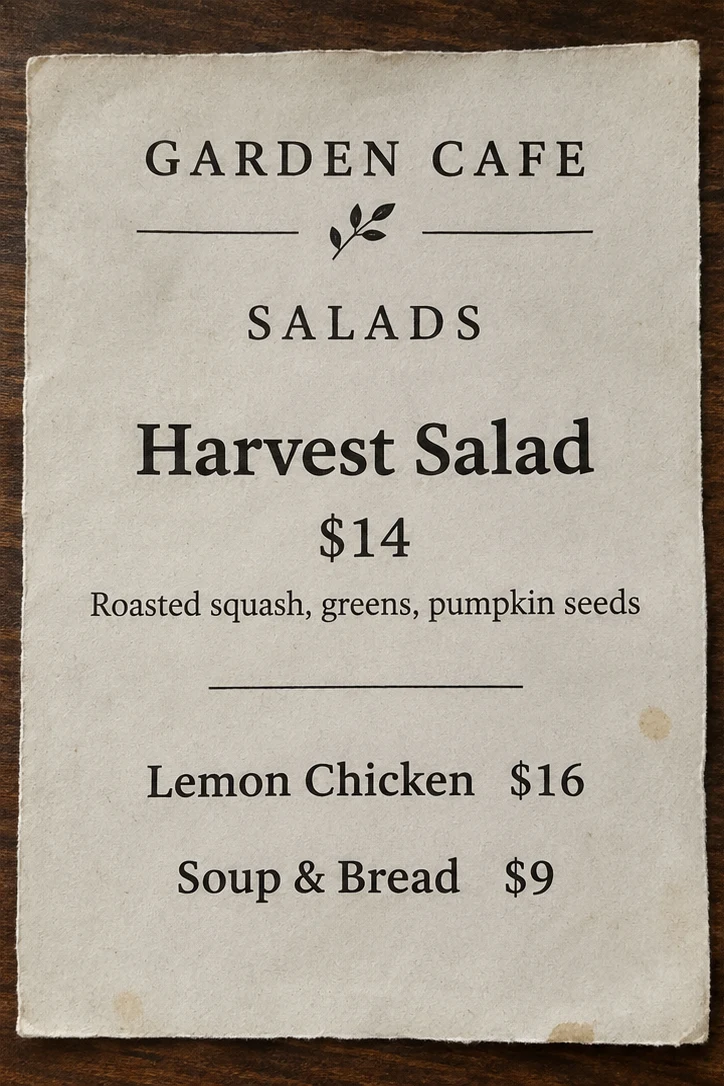
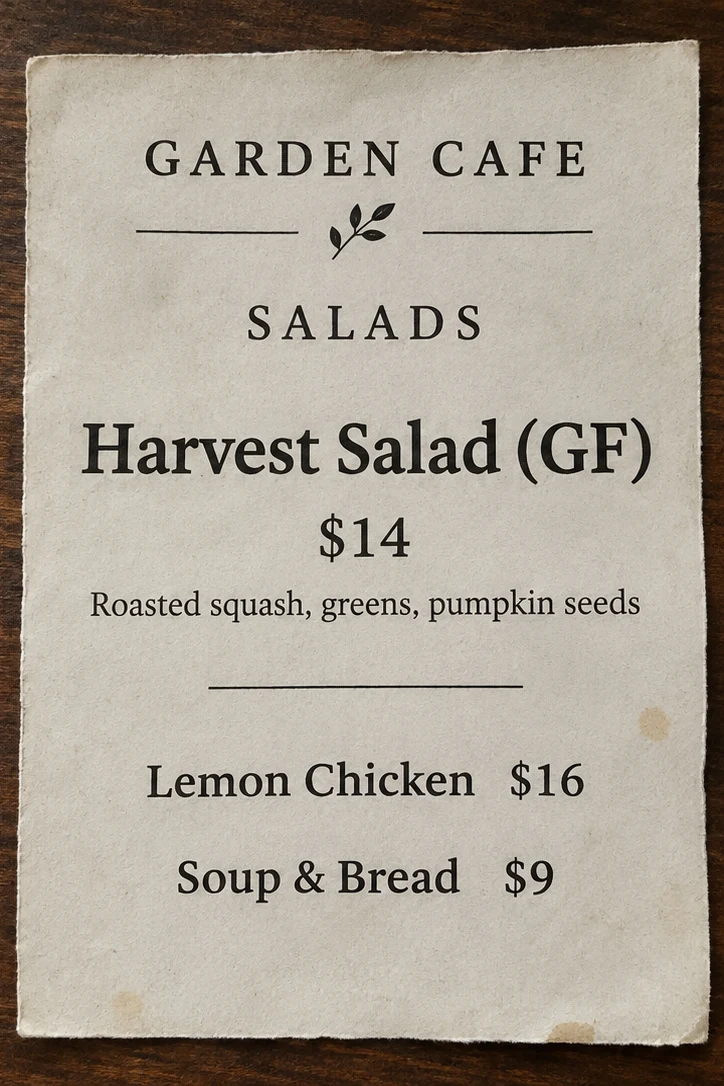
Work on one clear change, review it, and keep your original menu for comparison. The editor stays on this page throughout the process.
Choose your clearest exported menu image. For a printed menu, take a straight, evenly lit photo with readable prices. Keep the relevant row and enough surrounding design visible to judge alignment.
Enter the existing wording and its replacement, including punctuation and currency symbols. If several items share a price, include the dish name in the original and replacement text to identify the intended line.
Generate the edit and compare it with the original. Read the changed line and neighboring items. Download the version you approve, then replace the old menu image wherever customers currently see it.
Edit text in menu images when a focused update is enough. These common restaurant and cafe changes do not always call for a new layout.
Adjust a price, fix a spelling mistake, or correct a dish name. Similar text lengths fit the available space more easily. If a new price is longer, look closely at decimal points and the right edge of the price column.
Refresh a named special or a menu heading when your offer changes. Make the replacement specific enough to explain what is available. For a long list of new dishes, use the original menu design to move rows and rebalance sections.
Prepare a corrected image for your restaurant website, social post, or digital display. Check a phone preview as well as the full image, especially if a compact menu squeezes descriptions and prices into narrow columns.
| Your starting point | A useful approach | What to check |
|---|---|---|
| Exported menu image | Start with the original JPG, PNG, or WebP instead of a compressed copy from a messaging app. | Fine print, price alignment, and any text close to the changed line. |
| Photo of a printed menu | Use a straight photo with even light. Retake it if glare hides letters or a crease crosses the price. | Shadows, paper texture, perspective, and the clarity of small characters. |
| Photographed chalkboard | Choose a short, readable line and keep the replacement close to its original length. | Chalk edges, irregular lettering, and any texture that looks different after the edit. |
| Editable design file | Use your source design for new columns, many simultaneous changes, or a complete seasonal menu. | Layout, text wrapping, page dimensions, and the final export settings. |
A good menu update needs both readable lettering and accurate information. Take one last look at the finished image before replacing the old version.
Check the item name, description, price, and symbols together. A changed digit can look convincing while a nearby letter has a stray mark. Zoom in to inspect the edit, then zoom out to check the row in context.
Have the person responsible for the menu verify prices and descriptions. Renaming a drink does not automatically update its description, and the editor cannot confirm ingredients or dietary information. Check these against the actual dish.
Check your website image, social menu, display screen, and printed copies separately. Downloading an edited menu does not update those destinations or your ordering system. Keep one approved version so staff know which prices and specials customers should see.
Correct owned commerce imagery while keeping claims aligned with the actual product.
Update poster headlines, dates, venues, and sponsor information, then review the full image.
Learn the core workflow for other short labels and visible words.
Confirm authorization and truthful-use requirements before editing customer-facing assets.
Start with one price, item name, or heading. Upload your menu above, or load an example to see the replacement fields before trying your own image.
Yes. Upload a saved menu image or a clear photo, then enter the existing text and its replacement. This is useful for a focused price or wording update. The downloaded result is an image; it does not recover your original editable text layers or menu template.
Upload JPG, JPEG, PNG, and WebP files up to 10 MB. If your menu is a PDF, export the relevant page as a supported image first. Use a clear export rather than a small screenshot, so the text remains readable when you inspect the result.
Include the dish name and price together in the original text, then enter the same dish name with the new price as the replacement. Compare every matching price after generation. If the wrong item changes, keep the original and try a clearer image or use the editable menu design.
AI tries to match the visible type style, color, spacing, lighting, texture, perspective, and surrounding background. Exact font recovery and perfect repair are not guaranteed. Inspect numbers, punctuation, letter thickness, and spacing. Chalk lettering, textured paper, and tiny descriptions need particular care before you approve the updated menu.
For this editor, work through small, focused changes and review each result. If most prices or entire sections need changing, use the original editable menu design. That gives you direct control over rows, columns, and spacing for a larger revision.
You can try a clear photo of a chalkboard menu. Short words with good contrast are easier to inspect than faint handwriting or crowded descriptions. Start with one line, then check the lettering and chalk texture against the original before using the image.
Sign in to receive one lifetime preview credit with a full-resolution download for the account. This is a one-time preview, not an unlimited free plan. Paid generations use credits and support full-resolution output. ChangeTextImage does not add a site watermark to generated downloads.
You can use the downloaded image in your printing workflow. Check its dimensions and readability at the intended print size, and make a test print first. The editor does not set up print bleed, recover vector text, or turn a small source image into a new print layout.
No. The editor changes the uploaded image. Replace the published image yourself and update any separate ordering prices, item descriptions, or menu text. If a QR code links to your menu, check the destination after uploading the revised image.
These primary and technical references support the guidance on this page.